
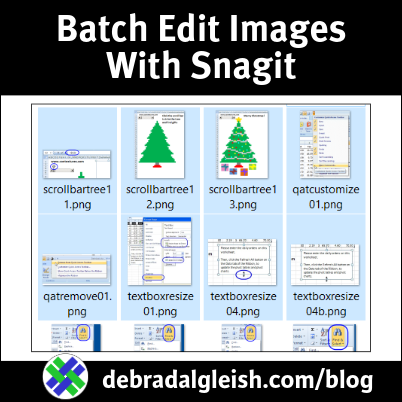
Lots of my old Excel screenshots don’t have a border, and that makes them blend into the white background sometimes.Instead of adding borders one at a time, I used the Snagit program to fix a big batch all at once.
Video: Add Borders to a Batch of Images
In this short video, I show the steps to edit a batch of images with Snagit. There are detailed steps below the video.
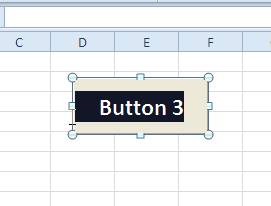
Image Problem – No Borders
Here’s an example of an old screenshot, without a border. There’s lots of white in the screenshot, so it blends into the page’s white background
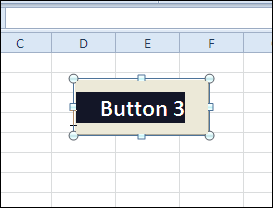
And here’s the same image, with a thin black border. Now it’s easy to see where the screenshot ends!
Batch Edit With Snagit
I’ve used Snagit for screen captures and image editing since 2010. It’s the tool I use for all of the Excel tutorial screenshots on my Contextures site.
You can only get Snagit in a subscription now, so I’m still using my standalone version of Snagit 2022. It has all the features that I need!
Listed below are the steps that I followed. If you’re using a different version of Snagit, the steps and commands might be different.
Select Files to Edit
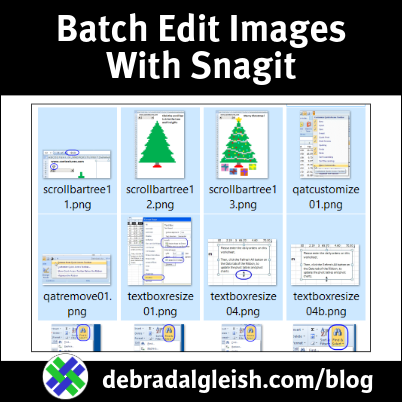
- First, in Windows Explorer, I selected a batch of old screenshot image files, without borders
- Important: All selected files should be the same file format (png in this example)
- Next, right-click on any one of the selected image files
- In the pop-up menu, point to Snagit
- Click on the Batch Convert Images command
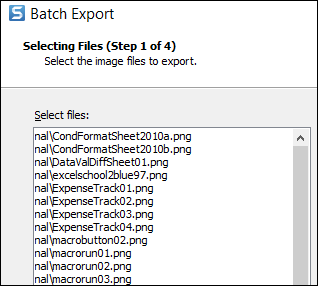
Step 1 of 4 – Selecting Files
- The Batch Export dialog box opens at Step 1 of 4, showing a list of the selected files
- At the bottom right, click the Next button
Step 2 of 4 – Apply Effects
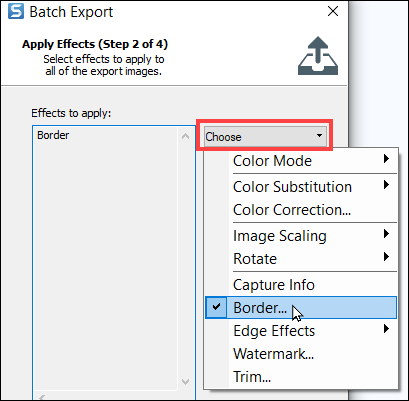
In step 2 of 4, any existing effects are listed at the left.
- To apply new effects, or change the existing effects, click the Choose button
- For this batch, I clicked the Border command
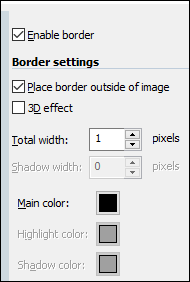
- In the Border settings, I checked the options that I wanted, set the width to 1 pixel, and selected black as the main colout
- Click OK, to go back to Step 2, and then click Next
Step 3 of 4 – Format Options
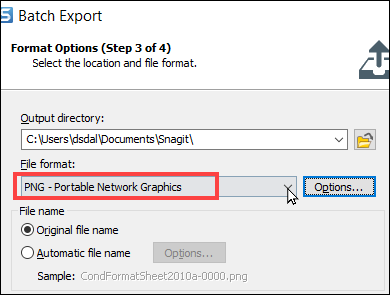
- In step 3, choose an output directory, or use the default Snagit directory
- Tip: Don’t use the folder that the original images are in.
- Send them to a different folder, where you can check the results
- Next, choose, the file format – either the same as the original files, or the file format you want to convert them to
- Then select a file name setting. I usually select Original file name.
- Click Next
Step 4 of 4 – Export Summary
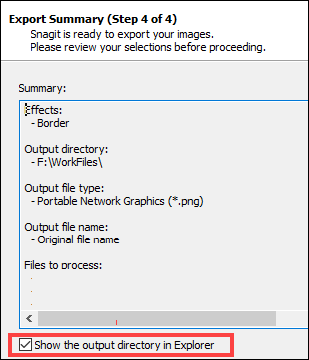
- In step 4, check the settings that are shown in the Summary list.
- Be sure that everything looks correct!
- Go back to previous steps, if necessary, and make corrections
- At the bottom, add a check mark to Show the output directory in Explorer
- Click the Finish button.
Check the Revised Images
When the output folder opens, open a few image files, to be sure that the changes were successful.
- If things look good, you can copy the revised files, and paste them into the original folder, replacing the original files.
- If there were problems, you can delete the revised files, and go through the Batch Convert steps again, to get better results.
Batch Edit Image Files With Snagit
____________