I’m taking an online CSS course at SitePoint, and the instructions include some YouTube video tutorials. Yesterday’s video included captions, and so I did some poking around, to see how they were added.
To add the captions, you need a specially formatted file, with text, or text and time points. You can create this file yourself, or get some help from YouTube.
Request a Machine Transcript
For newer video, the transcripts are automatically created after you upload the video. You can skip this section, and go to the Download the Transcript section, below.
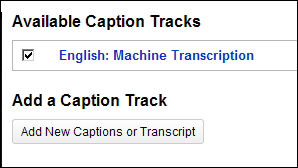
For older videos, you can request a machine transcript of the audio track.
- Log in to YouTube, and view one of the videos that you’ve uploaded.
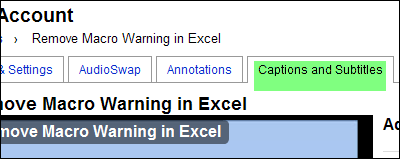
- Above the video, click Captions and Subtitles, to see the options for adding captions or a transcript.
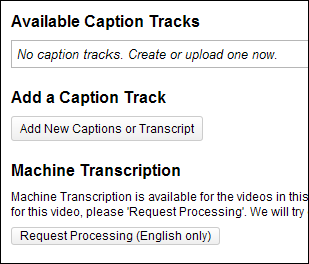
- Click the button for Request Processing (English only).
- Then, wander off and do something else for a day or two, while the transcript is prepared.
Download the Transcript File
The message says it will take a few days to prepare the transcript, but I checked less than 24 hours later, and my transcript was ready.
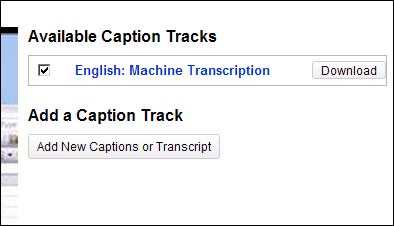
- Click the Download button, and save the file (in sbv format) to your computer.
Revise the Transcript File
I opened the file in Notepad++, to see what it looked like. Some of the transcript looked fine, like line 20 shown below. Other text, like line 23, weren’t so good. Sure, some of the video might be a bit boring, but none of it is gross!
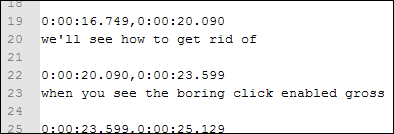
So, I listened to the video, while making some corrections to the transcript. For example, line 23 was changed to, "When you see the warning, click Enable Macros."
Then I saved and closed the transcript file.
Upload the Transcript File
To upload the revised transcript file:
- Log in to YouTube, go to the video page, and click the Captions and Subtitles tab.
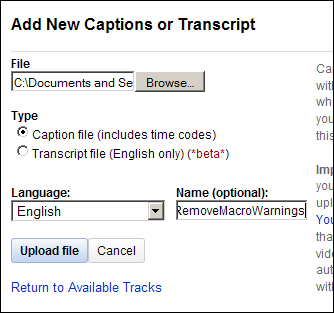
- Click Browse, and select the transcript file.
- Select a Type — either Caption File or Transcript File. The file that YouTube created for me had both times and text, so I selected Caption File.
For the Type option, YouTube describes the difference between a caption file and a transcript file:
- A "caption file" contains both the text and information about when each line of text should be displayed.
- A "transcript file" on the other hand just contains the text of what was said in the video. If the video’s in English, YouTube can use speech processing algorithms to determine when the words in a transcript should be displayed.
- Add a file name (optional), then click Upload File
See the Captions
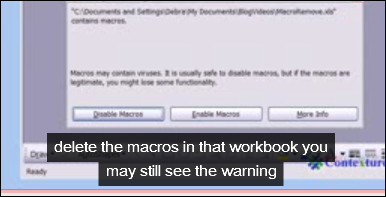
On the video, click the Play button, and the captions start rolling.
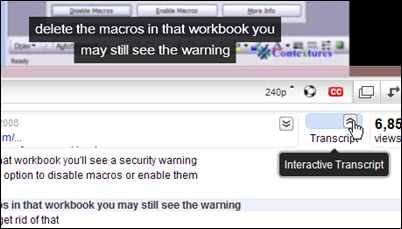
There’s a Transcript button that you can click, to see the entire transcript. It’s interactive, so you can click on a line, and go to that point in the video.
Pros and Cons
There were many things to correct in the transcript file, but it was much easier to use that file, with the times added, than to create a transcript from scratch. Also, there was some entertainment value in seeing how my tutorial was translated.
The captions block the bottom 1/2" or so of the screen, and that might cover some of the tutorial material. However, for anyone with English as a second language, or a hearing impairment, the captions will probably be a useful addition to the video.
The Transcribed Video
Here’s the video, so you can see the results for yourself. If you can’t see the captions in this embedded video, you can go to the YouTube page.
What do you think of the captions? Is it something you’d add to your own videos?
______

Don’t you have Camtasia? I do, but haven’t used it much yet. It seems to me that I’ve seen instructions for this kind of editing in Camtasia, though.
@Jon, you’re right, I’m using Camtasia, and captions can be added there. It doesn’t create the text file automatically though, so you’d have to enter it manually, and add all the time markers.